Installing Visual Studio 2017 + Qt Interface Library
Installing Visual Studio 2017 and the Qt interface library provides a simple application development framework that is intuitive and easy to configure once the installation is complete. However due to the development direction of Visual Studio, the 2017 edition does not install all of the required C++ components needed to develop Qt applications within Visual Studio. This guide provides an illustrated step-through of the installation/configuration process so that you can quickly create new C++\Qt programs in Visual Studio 2017.The following image shows the installer and version information for: (1) the Qt open source installer, (2) the Qt Visual Studio Add-in, and (3) the Visual Studio 2017 Community installer. The Qt 5.9.1 installer is available on the official Qt website. Working versions of these installers are available below as direct downloads:
- Qt Downloads
- Visual Studio 2017 Community Web Installer (direct download)
- Qt Visual Studio 2017 Add-in Installer
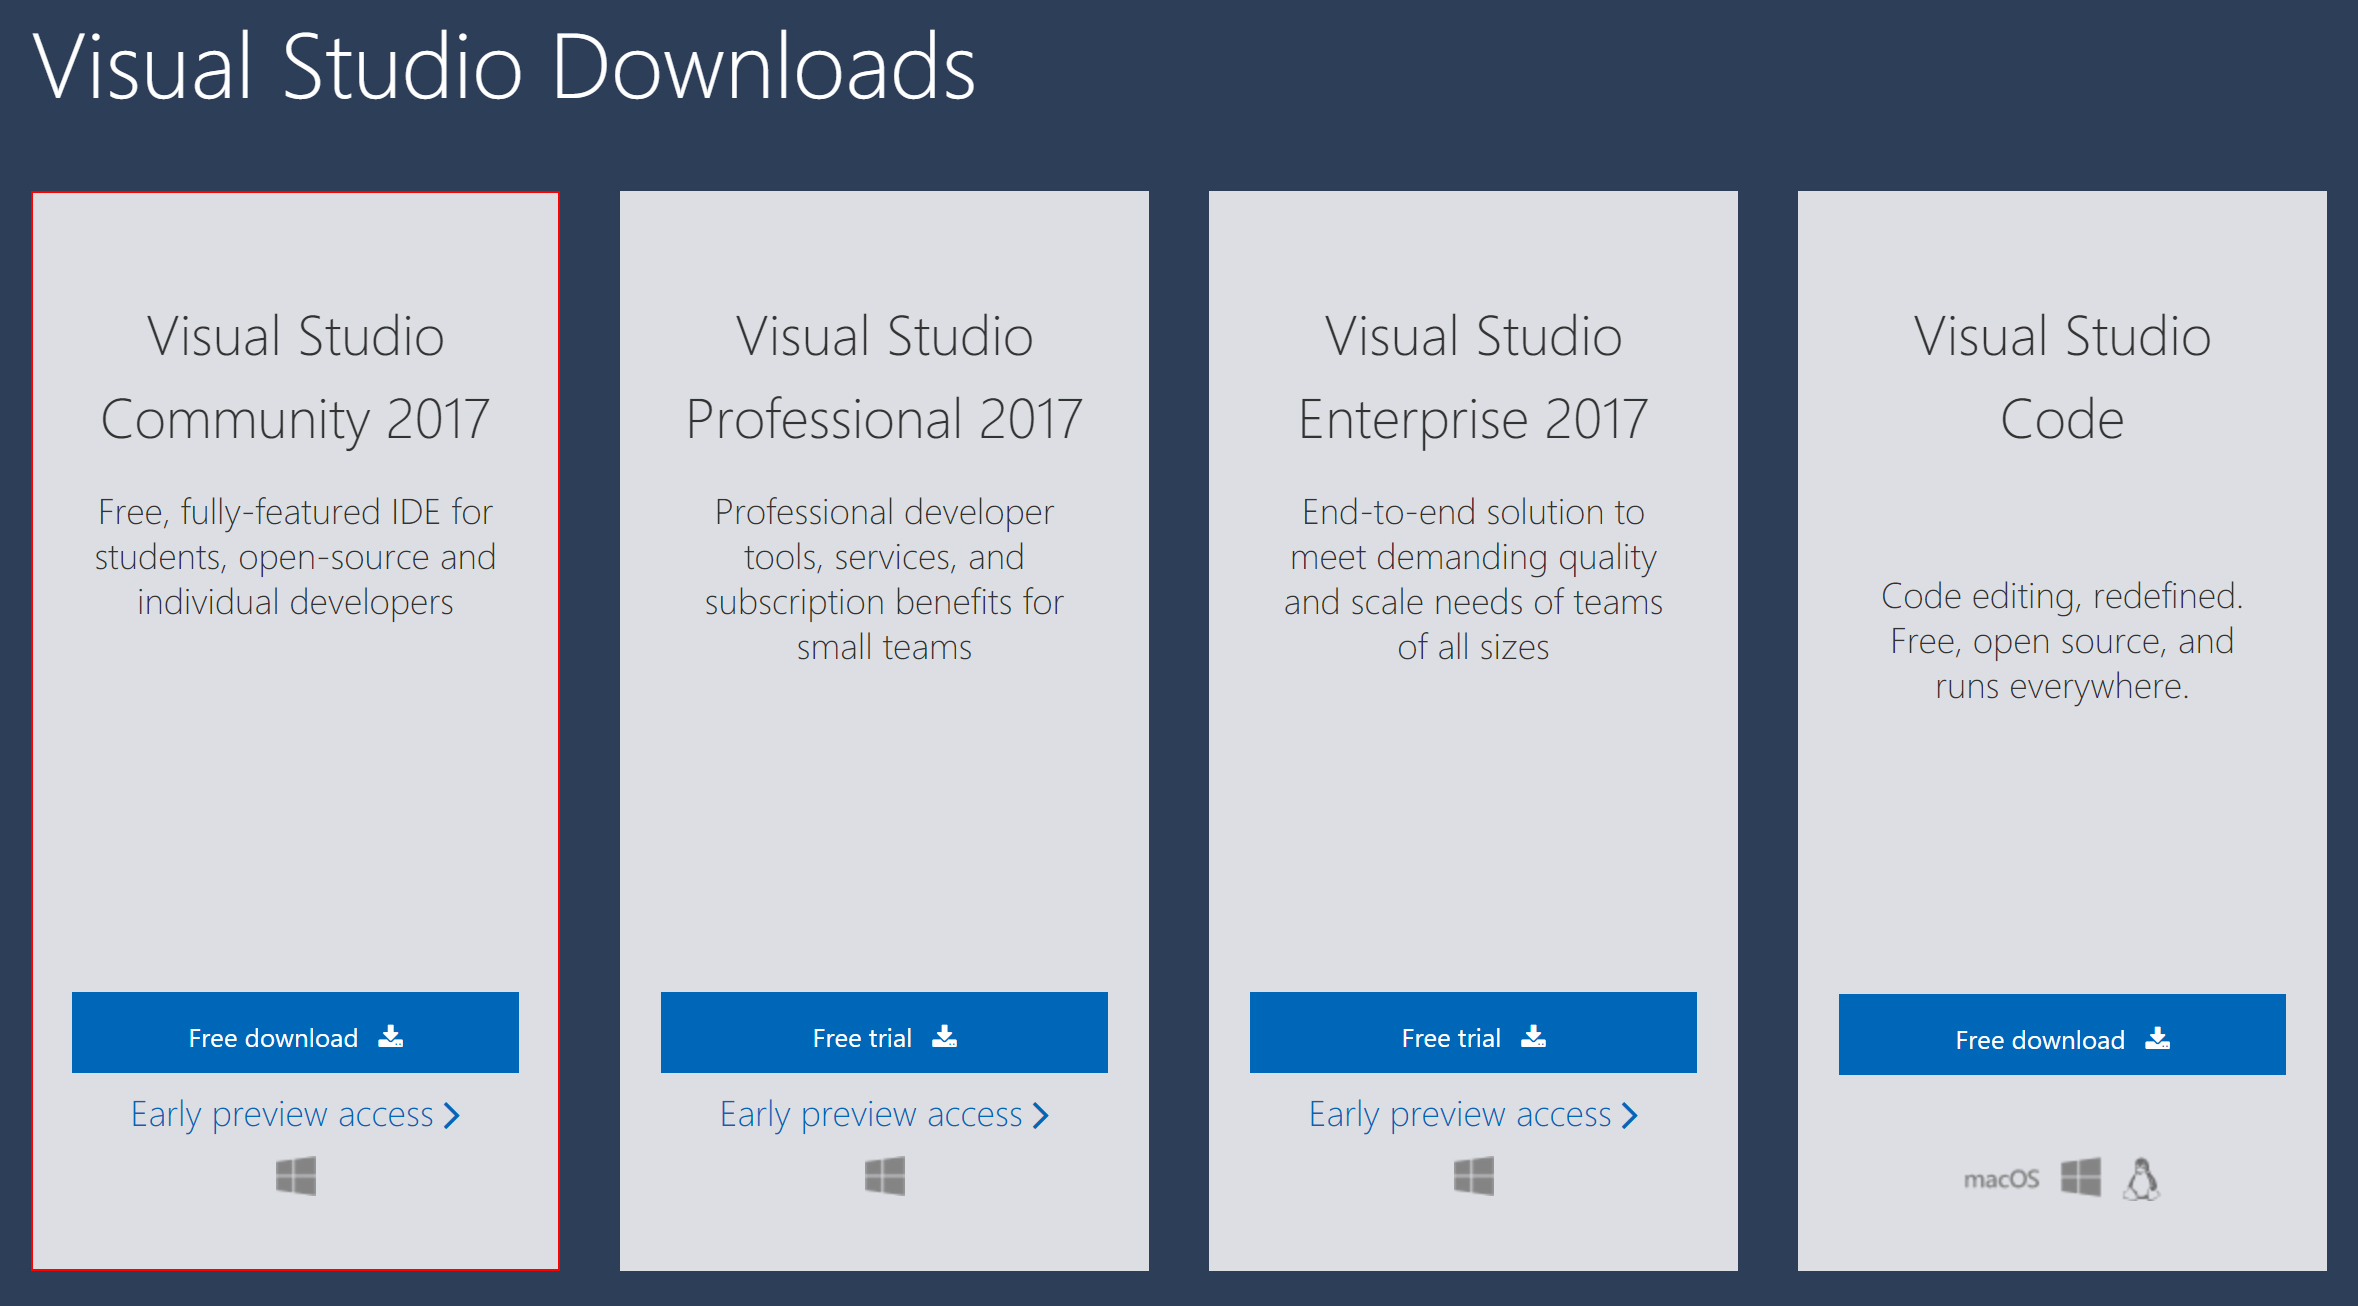
Download: Visual Studio 2017 Downloads
Step (2): Running the Installer: Running the installer will provide an extensive number of installation options that will allow you to customize the installation process of Visual Studio. This feature allows you to customize and greatly reduce the overall size of the Visual Studio installation (which can range from ~10 - 50GB depending on what you select). The following images illustrate the minimum packages that need to be selected for (Computer Graphics) or (Game Development) based on what you are using Visual Studio for.
Note: For any installation, be sure to include the Windows 8.1/10 SDK components from the right side of the installer when selecting custom components to install. These are required to develop C++ programs and will result in compiler errors if they are not included.
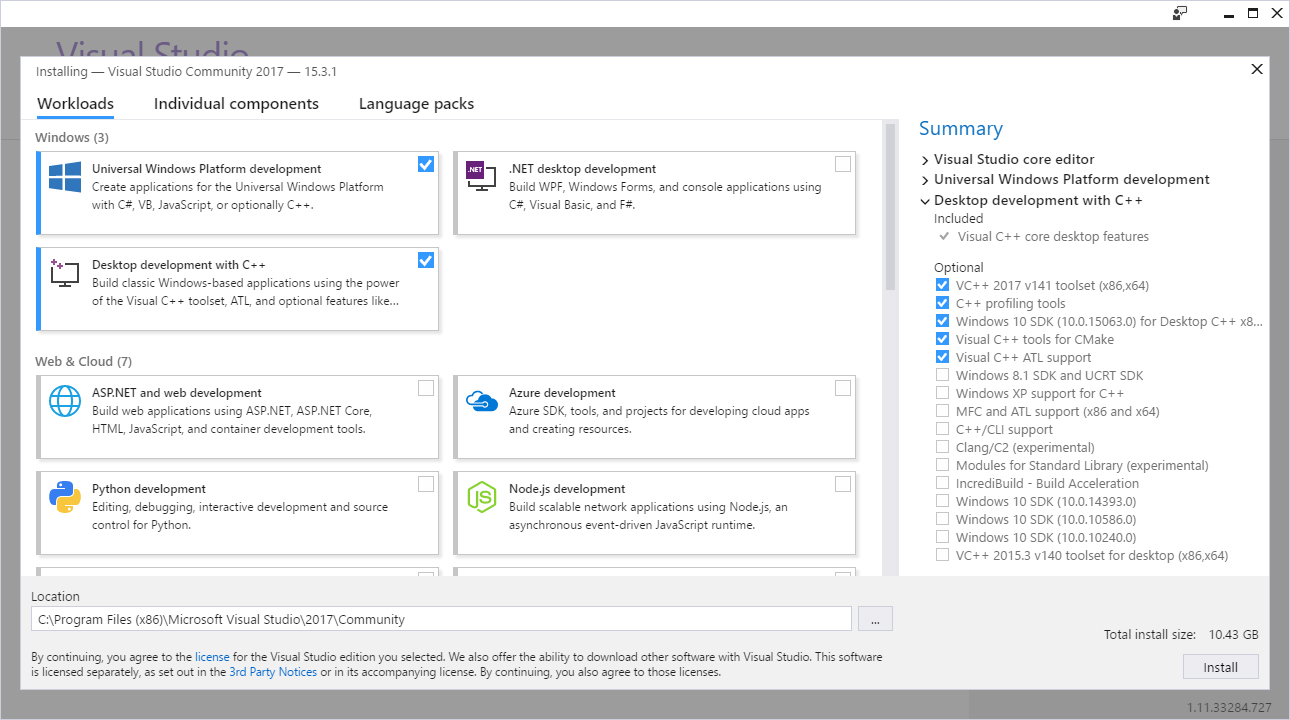
Minimum C++ Development
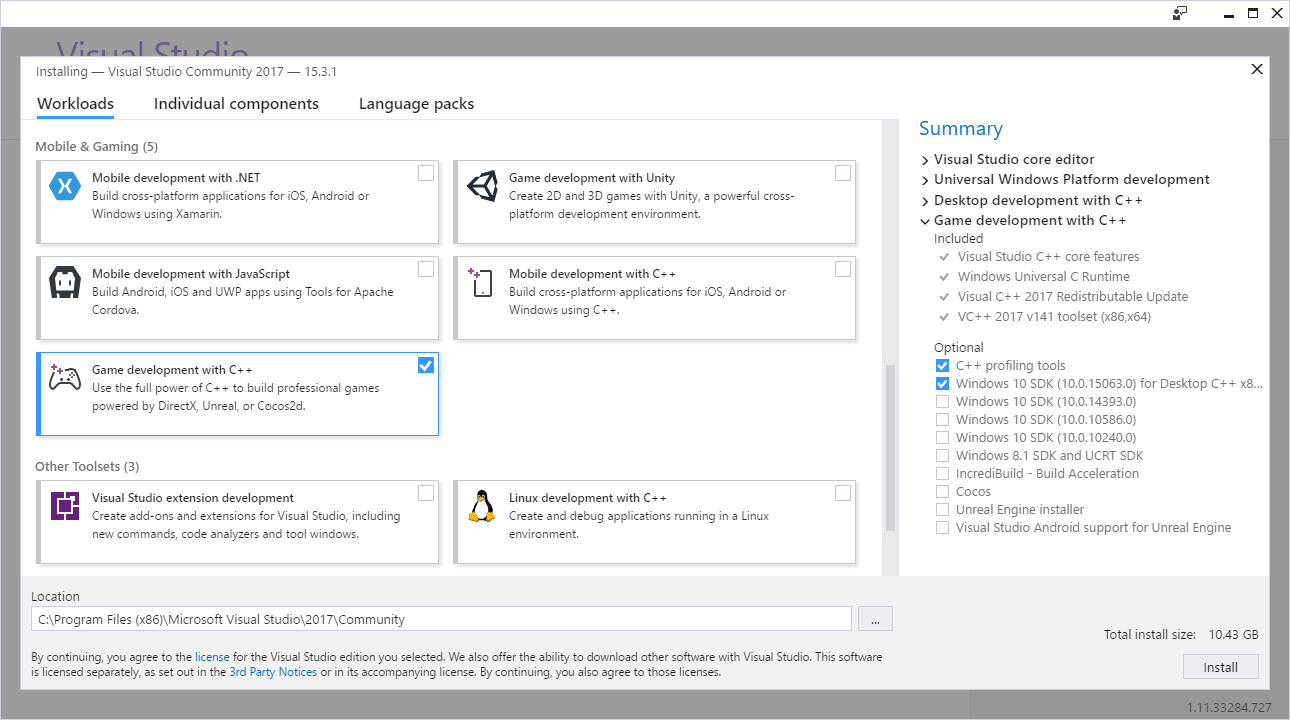
Minimum C++ Game Development
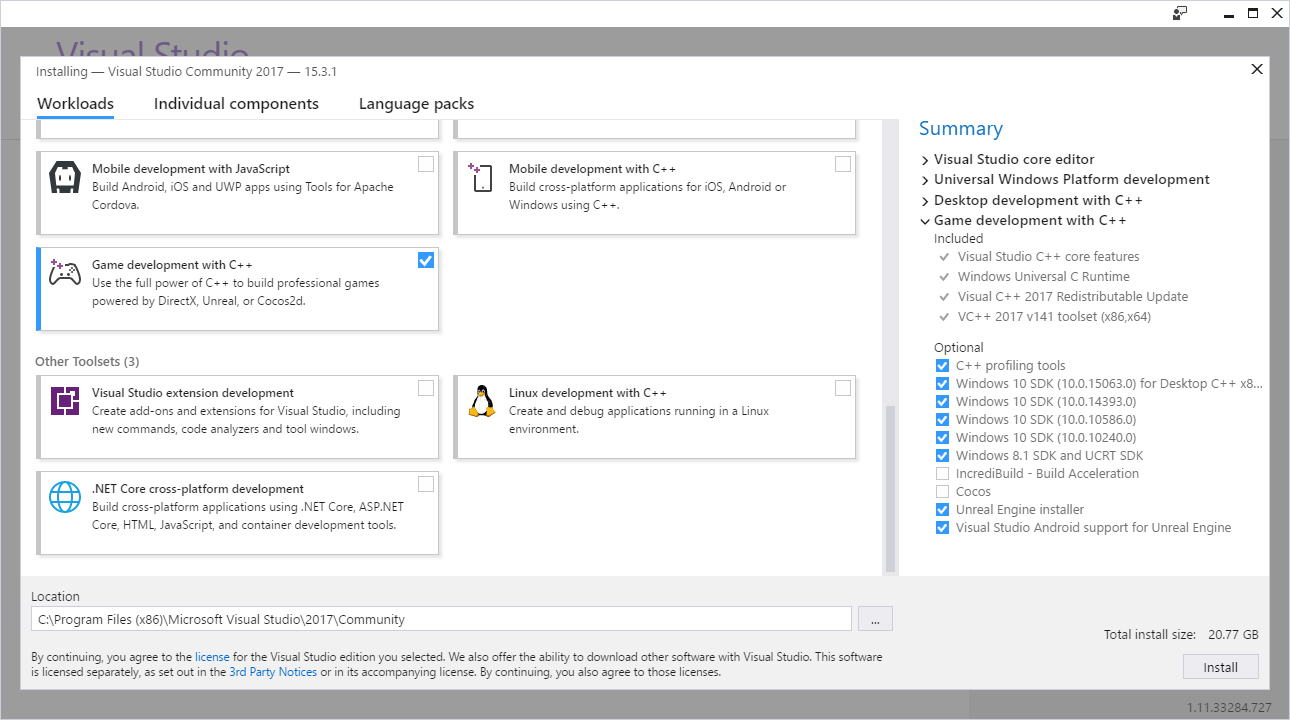
Minimum C++ Graphics and Game Development
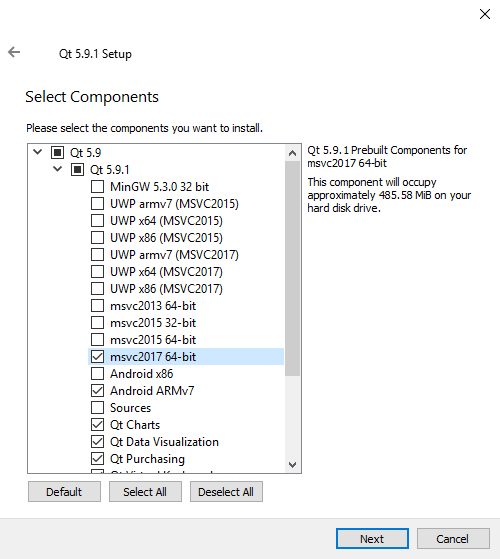
Step (3): Installing Qt 5.9.1: Download Qt using the link above or find an official release download of Qt 5.9.1. This is the first version to fully support pre-compiled binaries for Visual Studio 2017. Of course Qt is cross-platform and can be used on Linux or Mac as well, but the integration of Qt and Visual Studio provides one of the simplest methods for creating small applications, however if you would like to download the Qt source and compile it to your target architecture, that is also another option.
The Qt installation process is simple, but requires one additional component for Visual Studio 2017 integration. During the Qt installation process, under Select Components expand the options and select msvc2017 64-bit. Then complete the installation process as normal.
Step (4): Installing the Visual Studio Qt Add-in: Download the add-in from the link provided above and install after you have completed the installation of both Visual Studio and Qt. This add-in will provide Qt integration into Visual Studio so that you can create new Qt-based projects within Visual Studio (using File->New Project). The add-in will provide a new project template and allow you to select which Qt components you would like to include for the project (ex. OpenGL, Networking, etc.).
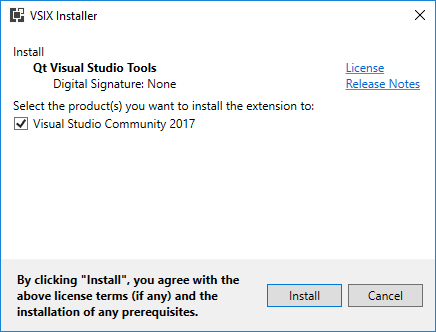
Visual Studio can now be used to create new Qt projects. This add-in will also automate the process of UI'cing, MOCing, and compiling the Qt project so you only have to compile as normal. Also be sure to check the Visual Studio build configuration for both Debug (slow) and Release (fast) mode for x64 applications.
Game Development Note If you are doing game development, then you can install the Unreal Engine after you have completed this guide. The Unreal installer (Launcher) will be able to auto-configure to the new Visual Studio 2017 installation, which you will be using to develop games.
Step (5): Installing FreeGlut (Graphics Only): Freeglut is a modern open source implementation of the basic OpenGL windowing system called Glut which is used for most simple OpenGL programs. This framework eliminates the process of creating an operating system specific window to create a new OpenGL context.
On the main FreeGlut website, the download provided download is for the source code to the library. The Windows binaries required for creating OpenGL programs in Windows are provided by an external maintainer that compiles the source using Visual Studio 2017. These are the files that you should download to install FreeGlut for Visual Studio. These pre-compiled binaries can be downloaded from the link below:
Download: FreeGlut Windows Binaries
To use the Windows binaries with Visual Studio, you must provide the include path and library path to the place where you extract the FreeGlut files. This is done by creating a new Visual Studio C++ project, selecting project properties and then using the VC++ Directories property page to set the new location of the Include Dirs, and Lib Dirs. Additionally, you may need to reference the *.lib file in the project properties by using Linker->Input->Additional Dependencies and typing in freeglut.lib.
If you are encountering include errors, be sure to make sure you have the correct include path added to your project for Freeglut. If you encounter linker errors after you compile, then check the lib directory path to FreeGlut and the linker input additional decencies.